
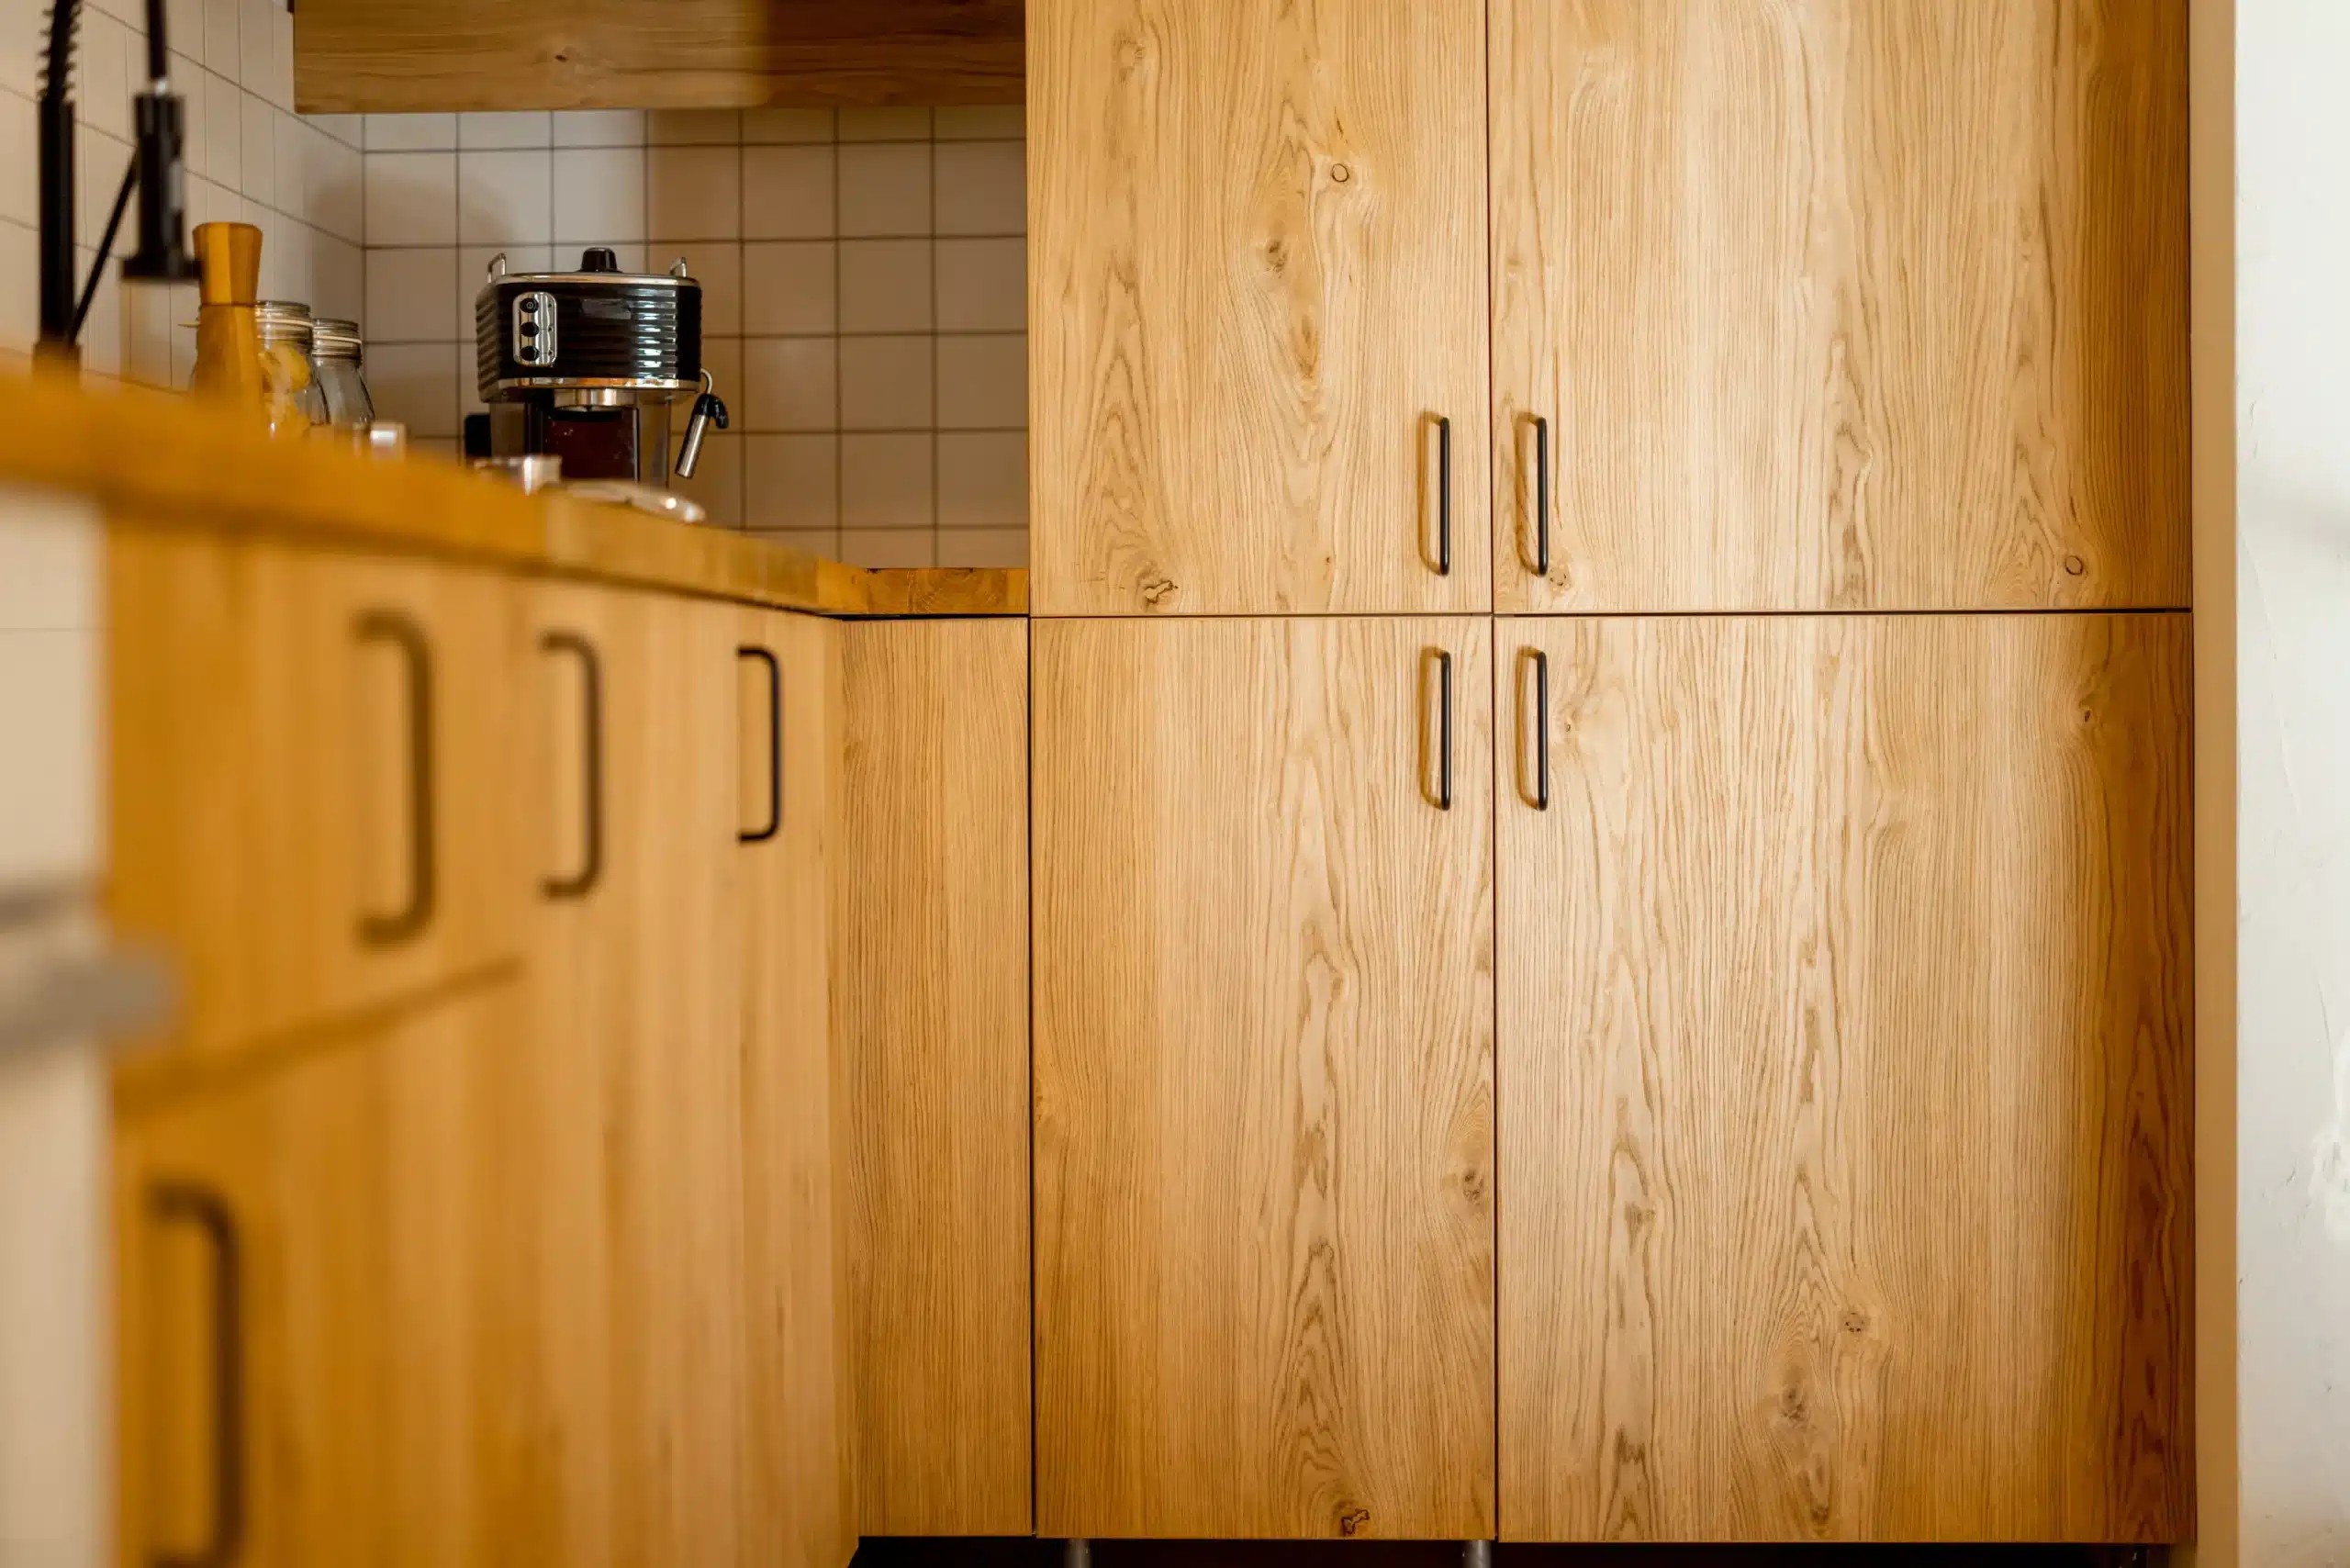
Clean kitchen cabinet doors by removing hardware, then wiping surfaces with a degreasing cleaner to strip cooking grease and grime. Rinse with clean water, dry fully, then scuff-sand lightly to help primer adhere. Proper degreasing prevents paint failure later, which matters most in Florida’s humid climate where moisture speeds peeling and mildew growth on poorly prepped surfaces.
Key Takeaways
- Proper surface preparation determines the success of your cabinet painting project more than paint quality itself.
- Cleaning removes 15 years of accumulated grease, dust, and grime from kitchen cabinet surfaces effectively.
- Degreasing solution cuts through buildup that prevents paint adhesion and causes premature finish failure.
- Sanding after cleaning creates texture for paint to grip, ensuring a smooth, long-lasting finish.
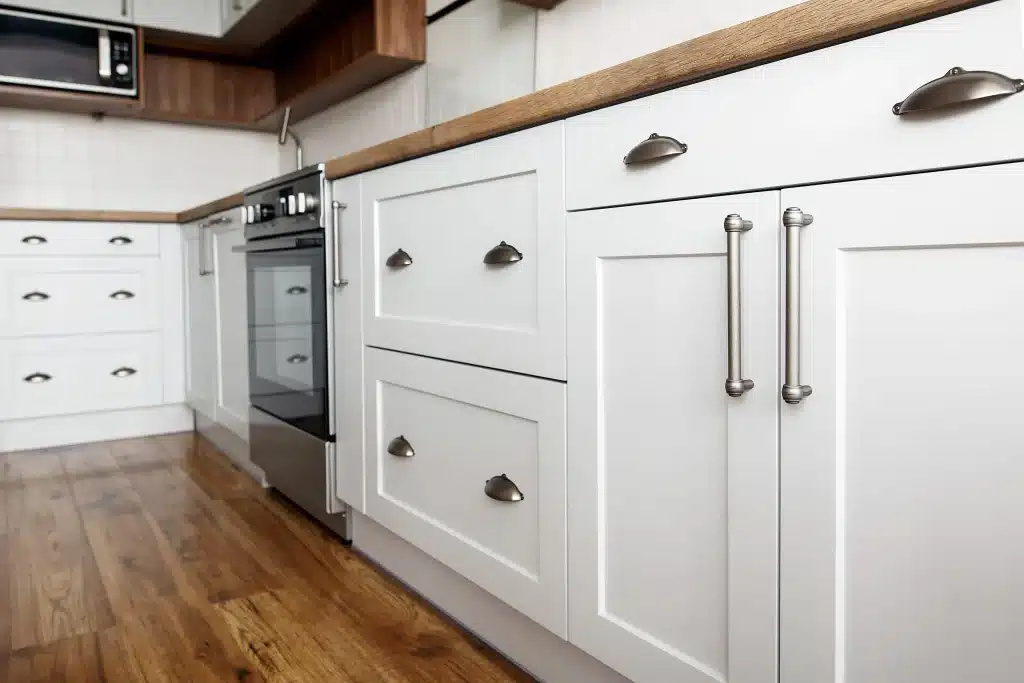
What Do You Need Before You Start?
Success starts with the right supplies, not the paint can. Preparation determines whether a cabinet finish lasts for years or peels within months, far more than the brand of paint applied over the surface. Homeowners researching how to clean [kitchen cabinet doors before painting](https://tampapainting.org/kitchen-painting/) need a short list of tools gathered before the first wipe-down begins.
The checklist stays simple:
- A degreasing cleaner suited for kitchen grime and cooking residue
- Microfiber cloths or soft rags for wiping and buffing
- Fine-grit sandpaper, around 220-grit, for scuffing wood surfaces
- A screwdriver for removing hinges, knobs, and pulls
- Painter’s tape and drop cloths to protect countertops and floors
Gathering these items first keeps the project moving without mid-task scrambles to the hardware store. Painting wood cabinets ranks among the most budget-friendly ways to refresh a kitchen, bathroom, or laundry room without the cost of full replacement, so skipping the prep step undercuts that value fast.
What Tools Does a Thorough Cabinet Cleaning Require?
Degreasers cut through cooking buildup that soap and water alone leave behind. Sandpaper scuffs the finish so primer grips properly instead of sliding off smooth lacquer. Clean rags prevent streaking during rinse passes, which saves time later.
Tampa Painting, a licensed and insured contractor headquartered in Brandon, FL, applies this same prep standard to every cabinet project it takes on. The company’s reputation rests on thorough preparation and clear communication, the same habits that separate a cabinet finish built to last from one that fails within a season.
How Do You Strip Away Heavy Grease First?
Grease removal starts the entire cabinet prep process, and nothing that follows matters if this step gets skipped. Florida’s humidity accelerates the buildup of sticky cooking residue on cabinet doors far faster than drier climates, leaving a tacky film that resists ordinary dusting. That film sits between the wood and any new finish. It will ruin adhesion no matter how good the paint is.
Homeowners planning to learn how to clean kitchen cabinet doors before painting often reach out to professional cabinet painters for advice. The answer is nearly always the same: degreasing outranks every other prep task in importance. A consistent prep standard treats grease removal as the first, non-negotiable step before sanding, priming, or coating begins.
Follow this sequence for stubborn kitchen grease:
- Remove hardware, pulls, and hinges before cleaning.
- Mix a degreasing solution strong enough to cut through cooking oil buildup, not just surface dust.
- Wipe each panel with a soft cloth, working in small sections so grease doesn’t redeposit.
- Rinse with clean water and a separate cloth to lift lingering residue.
- Dry completely before moving to sanding or priming.
Why Does Grease Ruin a Paint Job So Easily?
Grease blocks primer and paint from bonding to the wood fibers underneath. Even premium paints and proven application techniques fail prematurely when a hidden layer of oil sits beneath the topcoat. Peeling, bubbling, and uneven sheen almost always trace back to a surface that wasn’t fully degreased before the first coat went on.
How Do You Rinse and Dry the Doors?
Clean water removes residual cleaner and loosened grime, then a full drying period locks in the prep work before any coating touches the wood. Florida’s humidity complicates this step more than homeowners expect. Moisture trapped beneath a paint film causes bubbling and poor adhesion down the road, so skipping ahead costs more time than it saves.
- Wipe each door with a cloth dampened in plain water, changing the water once it turns cloudy.
- Rinse twice if a degreasing cleaner was used earlier, since leftover residue interferes with paint adhesion.
- Dry each surface immediately with a clean towel to lift standing moisture.
- Set doors on a flat surface or hang them in a well-ventilated space.
- Confirm surfaces are completely dry before moving to sanding or priming.
How Long Should Cabinet Doors Dry Before Painting?
Drying time varies by humidity levels. Doors need to feel fully dry to the touch and show no cool, damp spots. Florida’s climate often extends this window beyond what a drier region would require. Rushing this stage undermines the entire preparation process, since trapped moisture works against the finish long after the final coat goes on.
Can Cabinet Doors Air Dry Instead of Towel Drying?
Air drying works, but it takes longer and risks dust settling on damp surfaces. Towel drying first, then allowing a short air-dry period, gives a more reliable result for homeowners preparing doors for paint.
How Do You Sand and Prime After Cleaning?
Sanding and priming follow a defined sequence once cabinet surfaces are dry and free of grease. Skipping either step risks a finish that peels or shows brush marks within months, undoing the benefit of a careful cleaning. A licensed, insured painting team treats this stage as a core part of the process, not an afterthought squeezed in before color goes on.
- Confirm doors and frames are completely dry after cleaning; trapped moisture causes primer to bubble.
- Sand all surfaces lightly with a fine-grit pad to dull the existing sheen and give primer something to grip.
- Wipe away dust with a clean, slightly damp cloth, then let the surface air-dry fully.
- Apply a bonding primer formulated for cabinetry, working in thin, even coats.
- Let the primer cure according to label guidance before adding color.
Every stage, from prep through the final coat, fits a defined timeline that homeowners can track and plan around. Premium paints and proven application methods only perform well over a surface that’s been sanded and primed correctly. The paint itself isn’t what makes the finish durable.
Why does priming matter so much for cabinets?
Primer seals the wood and creates a uniform surface for color to bond to evenly. Without it, paint absorbs unevenly into bare wood grain, leading to blotchy color and premature wear. Homeowners and builders across Tampa Bay trust finishes that hold up under Florida’s heat and humidity. That durability starts here, well before the topcoat.
What Mistakes Should You Avoid Before Painting?
Rushing past degreasing ranks as the single costliest misstep before a cabinet repaint. Peeling, cracking, and uneven sheen trace back to skipped preparation far more often than to the paint itself. Grease, cooking residue, and handprints create a barrier that no topcoat bonds to permanently, no matter the brand or finish selected.
Homeowners planning their own project often skip a few other essentials too. Common errors include:
- Painting over dust or residue left behind after wiping with a dry cloth
- Assuming a quick wipe-down replaces full cleaning kitchen cabinet doors before painting
- Leaving hardware attached, which traps grime in corners and hinges
- Starting without a clear understanding of the full timeline involved
Should homeowners ask a professional before starting cabinet prep?
Asking a professional about process, preparation, and expected timeline upfront prevents many of these mistakes before they happen. A short conversation clarifies what surface cleaning actually requires and how long proper drying and sanding take.
Who can homeowners contact with cabinet painting questions?
Tampa Painting’s 15-person crew applies the same licensed, insured prep standard to cabinet work that it uses on full exterior repaints. Homeowners unsure about their degreasing or sanding steps can contact the team today for a free estimate before picking up a brush.
FAQ
What supplies do you need before cleaning cabinet doors?
Gather a degreasing cleaner, microfiber cloths, 220-grit sandpaper, a screwdriver for removing hardware, and painter’s tape with drop cloths to protect countertops and floors.
Why does degreasing rank as the most important prep step?
Florida’s humidity speeds up greasy buildup on cabinets. That film blocks paint adhesion regardless of paint quality, making degreasing the non-negotiable first task.
Why sand cabinet doors after cleaning and drying them?
Light scuff-sanding with fine-grit sandpaper creates texture so primer grips the surface properly, helping the finish last instead of peeling prematurely.
Conclusion
In closing, proper cabinet door cleaning before painting isn’t optional, it’s the foundation that determines whether your finish lasts years or fails within months. Degreasing, rinsing, drying, sanding, and priming form a sequence that works because each step removes barriers and prepares the surface for the next. Skip any stage, and premium paint can’t bond properly, no matter the quality of the topcoat. Florida’s humidity makes this preparation even more critical, since trapped moisture and grease accelerate peeling and bubbling. Homeowners who follow this process deliver results that hold up under the state’s heat and weather demands.
